Me too. (Even after hooouuuurrrsss of making them, I still think they are cute!)
I thought I would share my 'Flower Power' secrets with you.
(OK, DIY flowers are not secrets at all- they are all over the internet and you see them everywhere!)
But, there is much power behind knowing how to make your own flowers.
Here's how I create one type of power....
You'll need 7 of the same size petals.
Mine were scallopped for this flower, but circles will do too!
Also, cut two more circles, just a bit smaller. (One circle will be saved for the finishing touches and is not pictured here.)
We'll start with the pink petals. Four of them to be exact.
Fold in half and hot glue.
Fold in half again and hot glue. (Repeat 3 more times.)
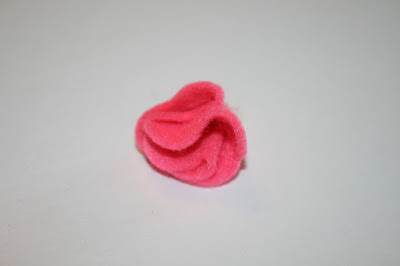
Your petals will look like this....
Did I mention you'll need a glue gun?
Cover 1/2 of one of your smaller petals with glue....
Place 2 of your pre-folded, pre-glued petals on; like this:
Repeat with the other 1/2 of your petals. Hold till dry.
(Dry time depends on your glue. Hot glue: 5 seconds. Fabric -or any other type of glue: 10 hours.)
Did I mention your Hot Glue Gun is your best friend???
Now, if you counted correctly, you should have 3 more petals left.
Take two of them and fold, glue, fold, glue, repeat..... (just like before)
With that last, final petal: fold, glue, fold, glue and then do an additional fold and glue. That way, this petal turns out a little smaller than the others....
Plop that little guy right in the middle. This just adds that little bit of extra fullness. :)
You can stop there, although, I wouldn't advise it..... I have more cuteness in store....
You'll need to cut 4 leaves out- all of the same size. You will also need that extra circle you cut from the beginning of this tutorial.
Just so you know... the pink and teal petals are cut from felt. The green is fabric.
I glued the green leaves on top of the pink felt leaves for stability and dimention.
Glue the two petals together....
The back doesn't look that great as is:
(Enter the other teal petal)
Gluing that on top of the bottom of the flower adds that finishing touch. Now, all you need to add is a hair clip or a pin!
Here is another flower I made, the exact same way, only I used all fabric:
For this flower, I didn't add the 3 center, folded and glued petals.
I left it flat in the center and added a small felt circle to finish.


Don't forget to finish the backs of your flowers! (Using felt will help your flower maintain it's shape and add stability as it is worn.)
Make it even more fun and use contrasting and coordinating felt!
Easy enough, right????
Yes, it is. And yes, you can do it.
Try it, I dare ya!
Before you know it, you'll be a crazy flower making lady like me. Ha!
OK, two more great, easy ways to make flowers coming your way tomorrow!!!!!
(I'll try not to post this late! Yikes. Yawwwwwwnnnn.)


LOVE these!! I have a wreath that is waiting to be finished off with some fabric flowers, and I just might have to make this version. Thanks for sharing!
ReplyDelete