Pages

Monday, October 10, 2011

31 Days of Things I've Been Wanting to Do, Day 10: Mini Pumpkin Cream Pies

Mini Pumpkin Cream Pies
What You'll Need:
2 1/2 cups graham crackers, crushed (I threw mine in a sealable bag and rolled it with my rolling pin)
10 Tb. margarine, melted
1/3 cup sugar
1 cup canned pumpkin
2 cups cold milk
2 small boxes of instant vanilla pudding
1 tsp. pumpkin pie spice, plus more for topping
1 container whipped topping, divided
12 glass jars (1/2 pint size)

Here's How:
1. Combine crackers, margarine and sugar. Mix well.


2. Divide equally into glass jars. I used a tart shaper to press the crust down.


3. Refridgerate the crusts.

4. In a bowl, combine pumpkin, milk, pudding, spice, 1 cup whipped topping. Mix on low speed for one minute.


5. Spoon mixture over crusts.

6. Top with the remaining whip cream and dust the top with more pumpkin pie spice.


Source: adapted from The Crafting Chicks here. (Check out her cute labels!)

Sunday, October 9, 2011

31 Days of Things I've Been Wanting to Do, Day 9: Apple of My Eye

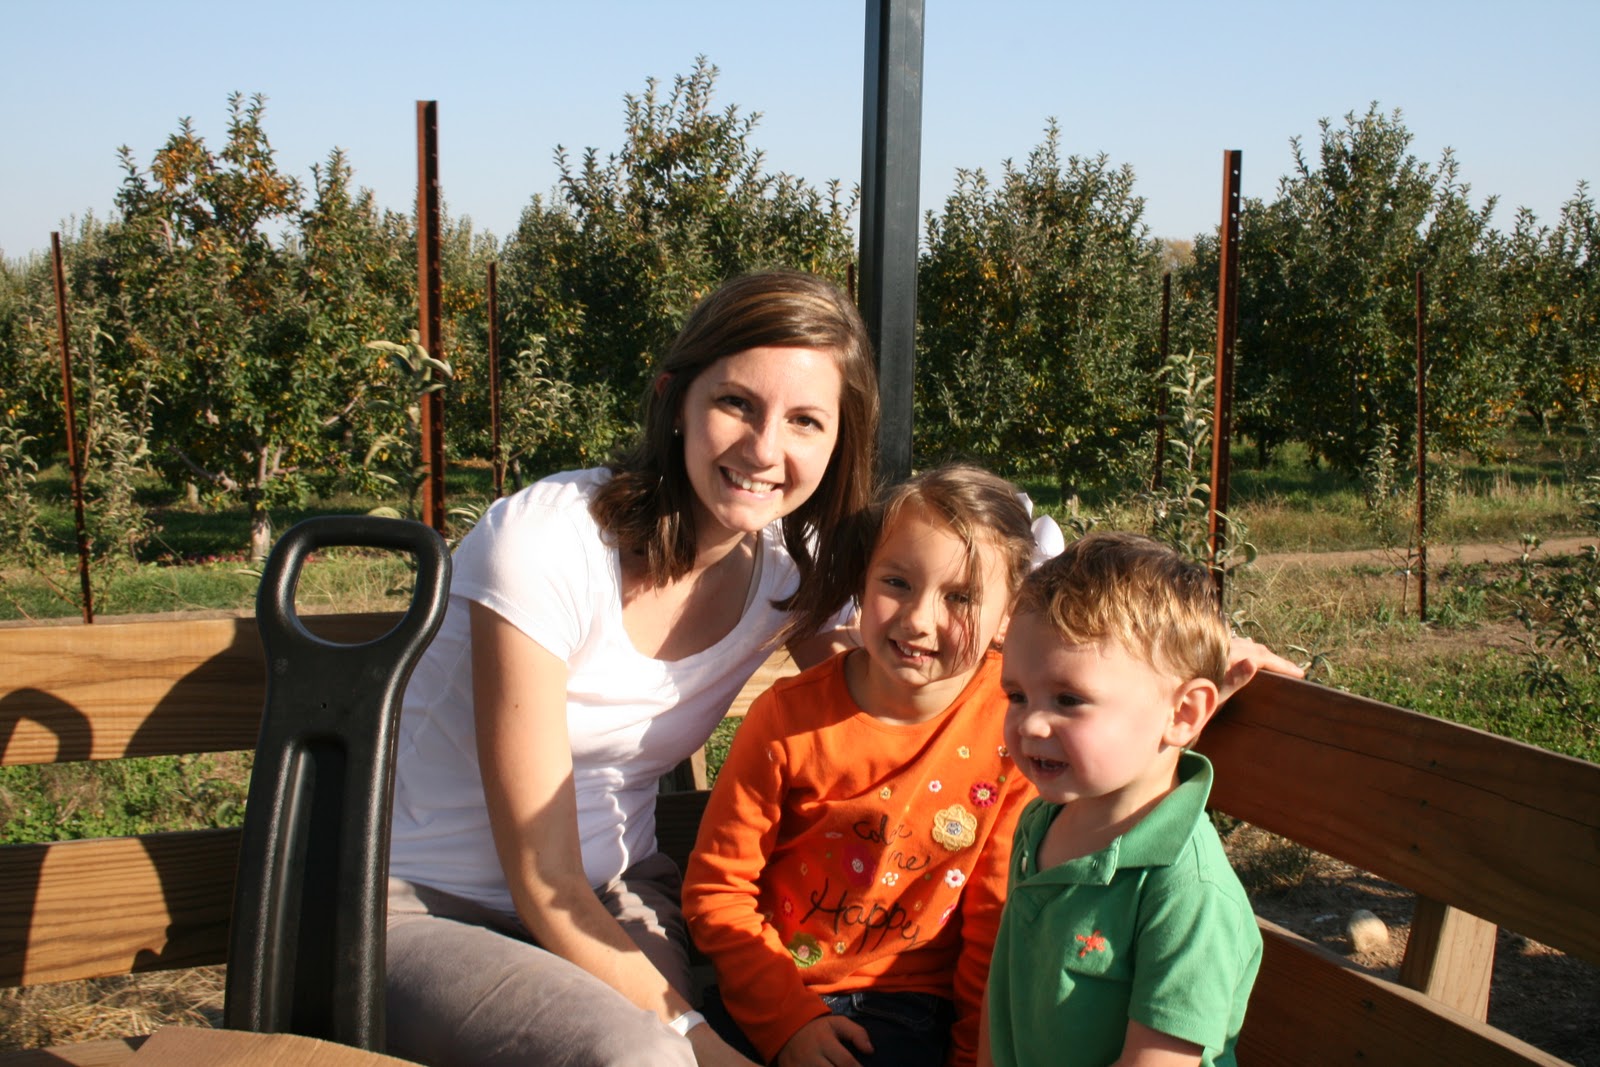
We have been having exceptional weather for this time of year, and considering where we live, we knew we had to take advantage of it before it's gone! Something I've Been Wanting to Do..... Apple Picking!!!! 
I had the perfect plan.... complete with visual images of my children laughing in the sun and skipping among apple trees. We were all excited about trying something brand new to all of us.
We visited Garwood Orchard. To tell you the truth, I was kind of expecting to knock on the owners' door to tell them we were here to pick apples. Then I was thinking he'd lead us to his back yard and we would have 50 or so trees to walk among and pick what we wanted. I even made sure to take cash because I was sure they wouldn't have the capabilites to run my debit card. Boy was I wrong!

When we got there and parked, we walked through a line to pick up bags for the kids' apples and then we were lead to another line of people awaiting to be taken to the orchards. As we were standing in line, we made comments about just how big this place was! A horse drawn wagon pulled up to load us in and off we went! What a fun way to start! Graham didn't take his eyes off the horses.....

After a short ride, we were let off in what seemed to be a sea of apple trees. That's all we could see.....

We got right to picking! Joel taught the kids what to look for (no brown spots, only pick ones on the trees, round ones, etc.)....

My favorite 'picker girl'.....

Graham's bag got heavy fast. We had to sort the rotten ones from the ground out of his bag. Then he figured out kicking was better than picking anyway! :)

Distracted by a train going by....


I think it would be impossible to walk through an orchard and not think of Adam and Eve so long ago.
 

And on the way back, a tractor wagon ride....

We even stopped in their produce store before heading home. Sipping cherry apple cider, we watched as they sorted and bagged apples off the conveyor. We picked up some pumpkin donuts, old fashioned root beer and candy for the kids.

Our picks of the day...

On top of my kids laughing and running through apple trees, there was tons of picking, a little sweating, a small meltdown, lots of snacking and eventually napping. All in all a great day! (Stay tuned for apple recipes. I've got 47 pounds of them!)

Saturday, October 8, 2011

31 Days of Things I've Been Wanting to Do, Day 8: You Raise Me Up

Have you ever stayed the night somewhere that you literally had to 'climb into bed'? The beds in my parents house are exactly that. I love that phrase, climb into bed.... the phrase for our bed would be more appropriately 'fall into bed'. The most frustrating thing about 'falling into bed' is my bed skirt is puddled on the floor. (I got the term 'puddled' from my mom. Her curtains have to puddle on the floor. So when I recently had curtains made for my dining room, you guessed it. My curtains puddle. :) )

So... good puddle (curtains)....

And bad, get sucked in my vacuum type puddle.....

Upon investigating the reason for such tall beds, I found out that my mom had raised them herself with 2x4's! Can you believe it? I was excited because I thought this was something I could do myself! And way cheaper than buying a new bed....

I started by stripping my bed frame of the mattress and box springs. (SIDE Note: If you are planning on purchasing box springs any time in the future, I HIGHLY recommend split box springs. So much easier to move!)


Then I measured the area that the box spring was resting on. You'll need to support your box spring the same way it currently is supported by your bed frame.

I headed to the home improvement store with my measurements. (I did call my 'go-to' handyman -Dad- to make sure I was headed in the right direction as far as wood goes.) Sometimes it's nice to get a 'yes that's right' from someone who knows how to do what you are trying to do. It could be a husband, or dad, or grandpa, or any one you know who usually has a pencil behind their ear.

I had 2x4's cut to my measurements. You'll like my new lingo... one 14-footer cut to make two 82 inch pieces and two 10-footers cut to make four 57 inch pieces. I bought the correct nails (12d 3 1/8"- and yes I had to look on the box to remember... and no, I couldn't tell you what it means.) I was a little anxious to head to the check out. I had never bought wood by myself and I was a little scared of the end cost. I was happy to learn there wasn't a fee for cutting.
The wood was cut, so it was mine. As the cashier scanned the bar codes, I was in shock. $2.89. $2.89, $3.89 (wood) and $2.39 (nails). I was hoping to keep this project under $30!!! Now what to do with the left over money???? :)

You know the phrase, "Measure TWICE, cut ONCE"? Well, I changed it to fit me... "Measure FIVE times before you haul your kids to the home improvement store, pick out wood, ask a ton of questions, have wood cut, load the wood into your car and then haul it in your house, without hitting the walls".

This is when you are expecting me to say the wood was cut to the wrong size... but it wasn't. I just didn't take into account the screws that would prevent the wood from fitting where I thought they would.

So, my handy help (husband) took the wood back and had an inch cut off so it would all fit.

I layed it all out to make sure it was lined up correctly and then penciled where the wood was to be nailed.

Then comes the hammering, and hammering....and hammering... and hammering.....
Ok, it wasn't as bad as I thought. In fact, since I knew the wood was the correct length I was excited to hammer because it meant I was close to finishing!

My method of holding the wood (with my knees) and hammering at the same time. Professional? No. But it worked for me!

All nailed and in place....

Load the box spring on, mattress, re-make your bed...

Wha-la! And not a puddle in sight!

Will I sleep better because of this project? Probably not. But, when I 'climb into bed' tonight, I'll more than likely be dreaming about new bedding and new tall night stands to go with my 'new' bed.  :)


Friday, October 7, 2011

31 Days of Things I've Been Wanting to Do, Day 7: Movie Night!

Yep! A Movie Night with the kids is Something I've Been Wanting to Do....


Our movie tonight? Robin Hood. No, not the new one, the Disney classic from 1973. And yes, it was complete with popcorn!
Here's a few of our favorite lines.... (the ones I'll be hearing daily for the next few weeks)...
"Yeah! Mind your matters!"
"I'm scared of Prince John, he's cranky!"
"You gotta trick 'ol bushel britches!"

What you don't see from the pictures above... dirty dishes in the sink, clothes in the washer and dryer, clothes on the stairs begging to be put away and newly left pop-corn kernels in between the couch cushions. And, yes, if you know me, you'll think I typed that last sentence wrong. So again... there are dirty dishes in the sink, clothes to be washed and dried and put away! And to think I sat for 2 hours watching a movie!
I have been convicted lately about my 'quality' time with my kids. So, tonight, I left the things that 'needed' to be done, and did the one thing that I NEEDED to do. And I loved every minute! Wasn't it just a few days ago that these were my babies?.....


Reese

Graham

Time flies when you're having fun!

Thursday, October 6, 2011

31 Days of Things I've Been Wanting to Do, Day 6: New Crock Pot Dinner

I had never had Osso Buco so I thought it seemed easy enough to try (from a recipe that was in my e-mail). After I made it, and we liked it, I searched on-line for other Osso Buco recipes. Turns out, the recipe I made is not much like a real Osso Buco recipe at all. (Sad face) I guess that's why the original recipe title was in " ". But, on the other hand, I do have a great recipe to share! (Happy face). I'll just rename it. :)

Easy Italian Chicken

What You'll Need:
8 boneless, skinless chicken thighs (1 lb.)
1/4 cup flour
1 carrot, finely chopped
1 can Italian stewed tomatoes, with juice
2 Tb. sun dried tomato vinaigrette dressing
Cooked, hot rice

Here's How:
1. Toss the chicken with the flour in a crock-pot.


2. Add all remaining ingredients except the rice. Stir.


3. Cover and cook on low 6-8 hours or on high 3-4 hours.  I was going to be out of the house for a few hours so I adapted the time to fit my schedule and cooked it on high for 2 hours and then on low for 4 hours.

4. Stir chicken mixture until sauce is thickened and serve over rice.

I felt bad only including 3 pictures! But, hey, that's just how easy it was! I love dinners that are very minimal clean-up. In this case, just a crock pot!

Adapted from Chicken "Osso Buco"

Wednesday, October 5, 2011

31 Days of Things I've Been Wanting to Do, Day 5: Computer Cabinet

"Clean Out and Spruce Up" was my theme for this small project. Something I've Been Wanting to Do... that was free (other than the small green organizers previously bought, but not using anywhere else) and it didn't take long to finish.

We bought a computer cabinet shortly after our move to Indiana. We had just bought our first house.....

and needed furniture! I'm thinking we got it at Wal-Mart? And definitely didn't pay more than $100. Joel spent an afternoon putting it together, and over 6 years, 1 move and 2 kids later, we are still using it!

It's a common place I visit. It holds our desk top computer, printer, file cabinet, the kids baby books, my scrapbooks and my day planner. With all the traffic, it tends to be a place that can get cluttered easily. I'm tempted to buy our next computer cabinet without doors so I don't have an excuse to hide the inside. :)

Not too cluttered but there was definitely a pile or two to be sorted, put away or thown out, and all together spruced up!

I already had a green CD box and a green basket to use to help organize. I also got inspiration from my bathroom lamp.....

and from my entry lamp (both I purchased at Pier 1).

I used hot glue to apply an old green flower pin onto my desk lamp.

and wa-la! Spruced and organized.

Tuesday, October 4, 2011

31 Days of Things I've been Wanting to Do, Day 4: Update Entry

We inherited a sofa table several years ago. Complacent with the stained oak finish, I left it untouched. Free and in great condition, I 'liked' it. I was getting that itch to 'love' it (or get rid of it) so I decided it was time for a minor (free, I might add) update.

Used as a sofa table in 2007.....

Moved to our entry in 2008.....

And that's where it stayed until it's recent trip to the garage.....

I used the 'Lindsey' technique:
1. Sanded until my arm was tired.
2. Wiped it clean.
3. Put it on top of old towels, although, somehow, I still managed to get paint on the floor.
4. Using a free sample of paint I received in the mail (Glidden, Pebble Gray) , I applied paint with my favorite paint brush (Angled Wooster, 1 1/2") and then wiped some off with paper towels before it dried.

I love how the original wood finish comes though and the paint is prominent in the creases and designs in the wood.
Not a 'professional' way of distressing, but I managed to accomplish the look I was going for.....

Back in it's place....