Pages

Showing posts with label Painting. Show all posts

Wednesday, November 13, 2013

Fall Pumpkin


A super cute, super EASY way to give your home that extra special, personal touch.... 
Chalkboard Message Pumpkin. 


Here's How:

1. Wash your pumpkin and let dry.
{I used dish soap and a wet paper towel. I did not submerge the pumpkin in water.}

2. Cut out a template the shape you want your message board to be.
{I found this label template HERE. After printing it and cutting it out, I taped it on my pumpkin.}

3. Trace around your template.


4. Paint with Chalkboard paint.

5. Do steps 1 through 4 as many times as you want!

6. When your chalkboard paint is dry, message away!

{'Boo!' was on our front porch for the Tricker-Treaters!}

{'Welcome' your guests in such a fun way!}

{'Give Thanks' is a perfect saying for the upcoming Thanksgiving Holiday!}

{Home Sweet Home}        {We made one 'Get Well' Pumpkin to give as a gift.}


Here's a few tips:
- When changing your message, wipe lightly. If you rub hard, you run the risk of the chalkboard paint coming off. 
- Pick out smooth pumpkins. The more the ridges, the harder it is to write on the chalkboard.
- If your pumpkins are staying indoors, be mindful of where you set them. If they are on a wood surface, I suggest placing something to protect your wood under the pumpkin.
- Read your chalkboard paint instructions on the length of time to allow your paint to dry before writing on it. I waited 24 hours.
- You can paint your message board without using a template.
{Although the traced template line made painting with chalkboard paint easy.}


Friday, February 22, 2013

Chalk Paint


Well, I DID it! 
I fell for the (over priced) Anne Sloan Chalk Paint and bought a quart in Paris Grey. 
I also bought a sample in Pure White and Provence.

I may have also talked my sister-in-law into buying some. 
That way, I got to practice painting on her frame project before taking my paint home.
{hehe}

It sat on my basement steps for months.... honestly, I was a little scared to use it.
It could have been because it was so pricey.
It could have been because I was afraid I wouldn't LOVE it as much as everyone else.
It probably was because I was afraid I WOULD love it and have to fork out more mu-lah for all the other fun colors!!!! :)

Yes, I definitely love it.

My first project.....
Isn't it puuurrrty? (cough, cough)
This is my jewelry cabinet I've had for years. (And I still use it, I just hide it in my closet.)


I started out painting the creases with the Provence. And yes, you read that right...
I started out painting.
If you're unfamiliar with Anne Sloan Chalk Paint (also known as ASCP) you should know that there is NO prep. When I first heard that, the 38ish dollar sign was a little easier to swallow.


After the Provence dried, I painted the entire piece with the Paris Grey.

I experimented with my distressing methods after letting the grey dry.
First I tried lightly sanding to distress.
The second method I tried turned out to be the better option for me (for the look I was trying to achieve). I took a damp cloth and rubbed over the spots I wanted the teal (Provence) to show through. This way of distressing was dust free! It also allowed some of the original dark paint color to show though.
The tricky part is remembering where I painted the Provence since I didn't cover the cabinet in that color completely.

When all of the paint is dry, you will need to wax your piece. ASCP goes on easy but is very dull when it is dry. I purchased a clear wax from my local hardware store instead of buying the Anne Sloan Wax.
I used a clean, soft cloth and applied the wax evenly over the entire jewelry cabinet.
The wax will protect and it also gave the cabinet a finished look.


And it's back in the closet, but I'm not hating the color anymore!!!

Tuesday, February 21, 2012

Bedroom Re-Do

This wasn't a COMPLETE (as in walls removed, reconstruction, etc.) bedroom re-do, but it is definietly a change.
I scored a great deal on bedding that I've had my eye on for quite some time.
Queen Duvet and 2 Pillow Shams- $29
2 Euro Pillows- $10 each
2 Accent Pillows- $26 together
(If you don't TJMaxx, you should!)


It started with bedding and moved on to paint...

I walked into our paint store armed with paint chip samples that I thought would be the perfect shade of gray.
Sample #1- too purple

The next trip to the same paint store, I mentioned that I never thought gray would be such a hard color to match. I got laughed at. Apparently I'm just figuring out what everyone else already knows about gray paint!
Sample #2- too baby blue-looking

The third trips' a charm right?!?!? At this point, the paint guy was probably anything but happy to see me. I got two samples this time.
My daughter even said , "I hope this paint looks good so we can stop coming here!"
And third time is a charm!
Sample #3- Accent wall
Sample #4- Surrounding walls

Hooray! Now I can actually start painting rather than just the test spots.

Here's the BEFORE (with some test spots painted)

I paint test spots on every wall because the color may look different on every wall.
Leave your test spots up for at least 24 hours. That way you can see it during different times of the day, depending on the lighting.

Next, fill any holes that you may have from pictures, curtains, etc.
Tape areas that you are not comfortable 'cutting in' . (Painting term for painting the edges, free handed.)
I can't cut-in to the left of molding because I am right handed. I have also found it easier to tape the base molding. That way, you don't have to lay on the floor to paint. It also prevents little specks of paint landing on your molding when you are painting with the roller.

Move all furniture to the middle of the room...

(I was waaaayyyy into painting to take any decent 'during' pictures.)

AFTER......

I'm planning on getting crisp, white (simple) panels made for the windows.
I'm going to add ribbon accents to match one of my accent pillows...

The bed skirt was free (taken from my daughter's room... her before and after will hopefully appear around here next week.)

I love the hotel feeling...

Speaking of accents, I chose the wall behind the bed to be a darker color to 'frame' the bed.

I see a white shelf above the bed....

The decor part is what isn't finished.
I'll post more pictures as it gets fully completed.
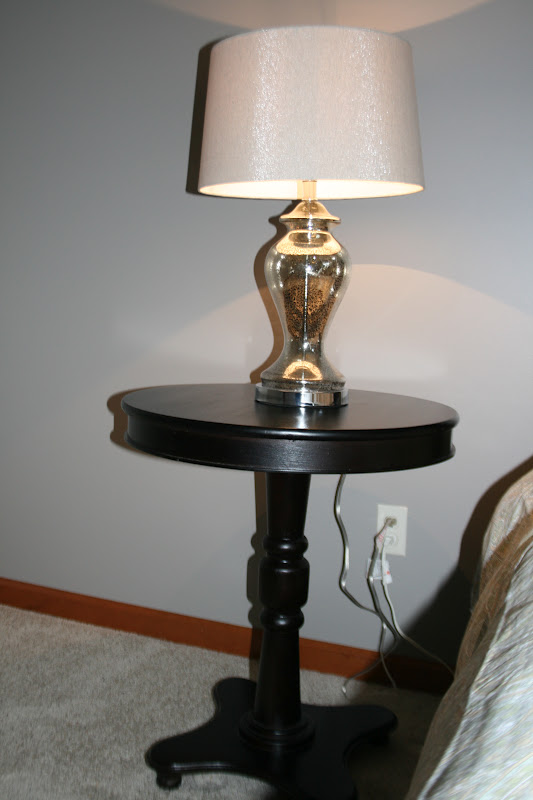
It took us almost 8 years of marriage to get nice, matching night stands.
I wonder how long until I can get a real dresser????

Wednesday, February 1, 2012

Reindeer Thank Yous

It's February, which means I always have my Christmas
Thank-You cards in the mail before February.
(Well, usually.)
I'm a little late, but they are made, written and ready to mail today!

I think the art of a hand written note is, sadly, loosing it's importance in our society today. I guess I could be considered 'old-fashioned' on this subject. I think a great, written, 'Thank You' note will be cherished by the reader. 
After all, they took the time to be deserving of a Thank-You, so I want to take time and show my appreciation with meaningful words.

This year I saw some cute reindeer cards on Pinterest. I didn't read the How-To tutorial but, by the picture, it's pretty self-explanatory.

Here's What You'll Need:
(also black squirt paint, not pictured)

Here's How:
1. Using the brown ink, stamp each thumb of your family.
The order we went: Reese, Me, Daddy, Graham.

2. Then I added noses with the squeeze paint. Black for me and the kids and red for Daddy (Rudolph).

3. Then using the same squeeze paint I dotted on eyes.
When all the paint was dry, I drew antlers on top of the reindeer.

4. Then spend a little time expressing your thankfulness!

Sunday, October 30, 2011

31 Days of Things I've Been Wanting to Do, Day 30: Silhouettes

I love the classic silhouettes of kids profiles! (Especially of my own kids!)

When I was graduating from High School, all of the graduates silhouettes were put on the wall of the graduation reception. I remember it being a big process to get those done. We taped white paper to the wall, stood in front of it as someone traced the shadow of our faces from a projector screen light. Then it had to be re-traced onto black paper and cut out. Sigh. Too much? I think so.

I combined a few easy ideas I got recently from other people who have made silhouettes of their children. (Plus added my own touch.) Here's how I made mine....

What You'll Need:
Canvas
Camera/ Printer
Black marker
Scissors
Black Paint (I also used gray paint)
Mod Podge (optional)
Cute kids

Here's How:

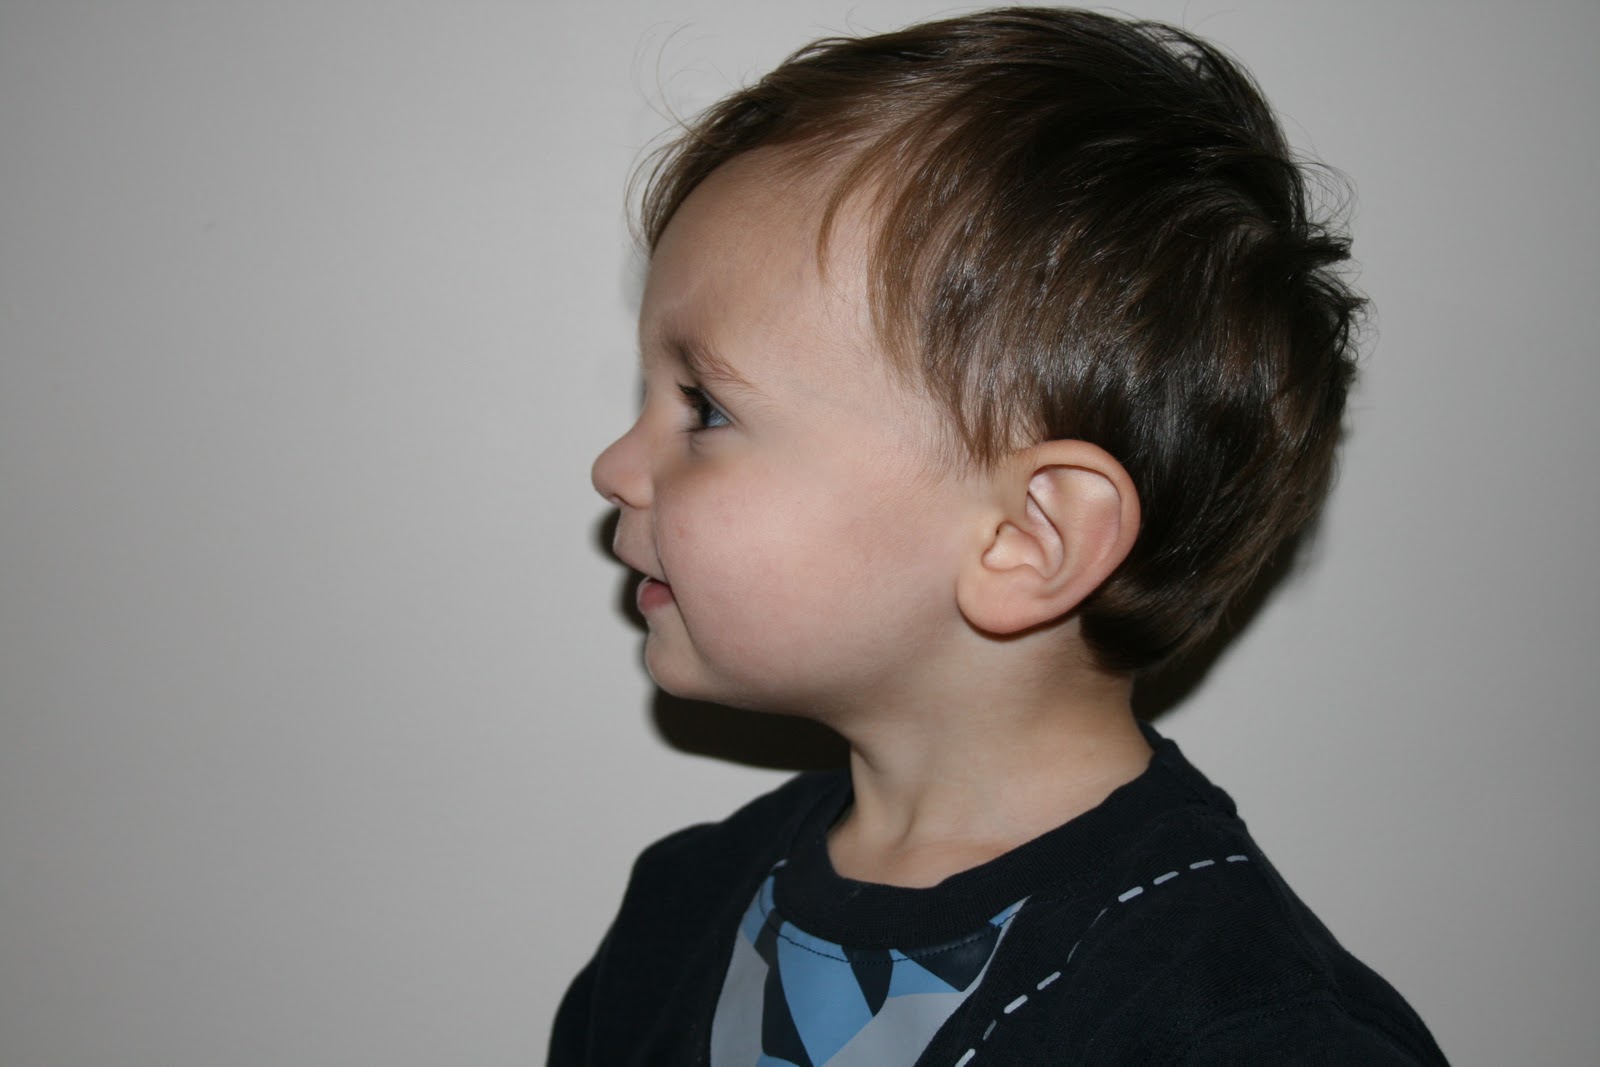
1. Have your willing and adorable children stand with their side to you against a contrasting, plain color wall. Take their picture. Be sure to get at their level so you get the actual shape of their head.


(If you are taking pictures of more than child, make sure you are the same distance away from them so ones head is not disproportional to the others'. I didn't not do this, as you can see. I was much closer to Graham when taking the pictures. This lead to much frustration and heart ache at the computer when trying to re size. Not to mention all the ink I wasted printing them a zillion times trying to get it to look right!)

2. Print the pictures on the computer.
(I later learned that printing them on card stock would have been better than just computer paper.)


3. Trace around the profiles. This just helps you in the next step...

4. Cut out the pictures. Following closely around the profile. 

5. I bought canvas for the back ground of my silhouettes. I didn't want the white background so I painted my canvas gray for a different look.) 
For a more feminine touch, you could put the silhouette in a black rounded frame and hang with ribbon. View other options here.

6. I had these two letters I had yet to do something with. I decided to paint them green to somehow incorporate them into my silhouettes. I took some of the same gray paint used to paint the canvas and lightly brushed the edges of the green painted letters.

7. In my excitement of this project, I somehow missed taking a picture of the silhouettes being painted. This is an important step! You'll want to paint the silhouettes black. (Or, really, any color you want!) To prevent the paper from rolling, print your picture onto card stock.
When they are dry, it's time to adhere them to the canvas. 
I used Mod Podge for this project. (If you've never used Mod Podge, go here.)
It works as a glue and sealer. (Keep in mind when it dries, it leaves the project shiny.)

8. When the Mod Podge is dry, you're almost done! I added picture hanging hardware to the back of my canvas to ensure easy hanging.


And Wha-la! Silhouettes of my favorite little ones!


The original place I found ideas for this was here.